Friday, November 30, 2012

2nd box to the Woman's Exchange

Hi all.....

I've mailed my 2nd box of Textile Trolley handmade items to the Woman's Exchange Shop in Little Silver, N.J. a wonderful shop that benefits crafters like myself and local charities.

Here's a sneak peak at some of the items I sent.


Box of seasonal goodies


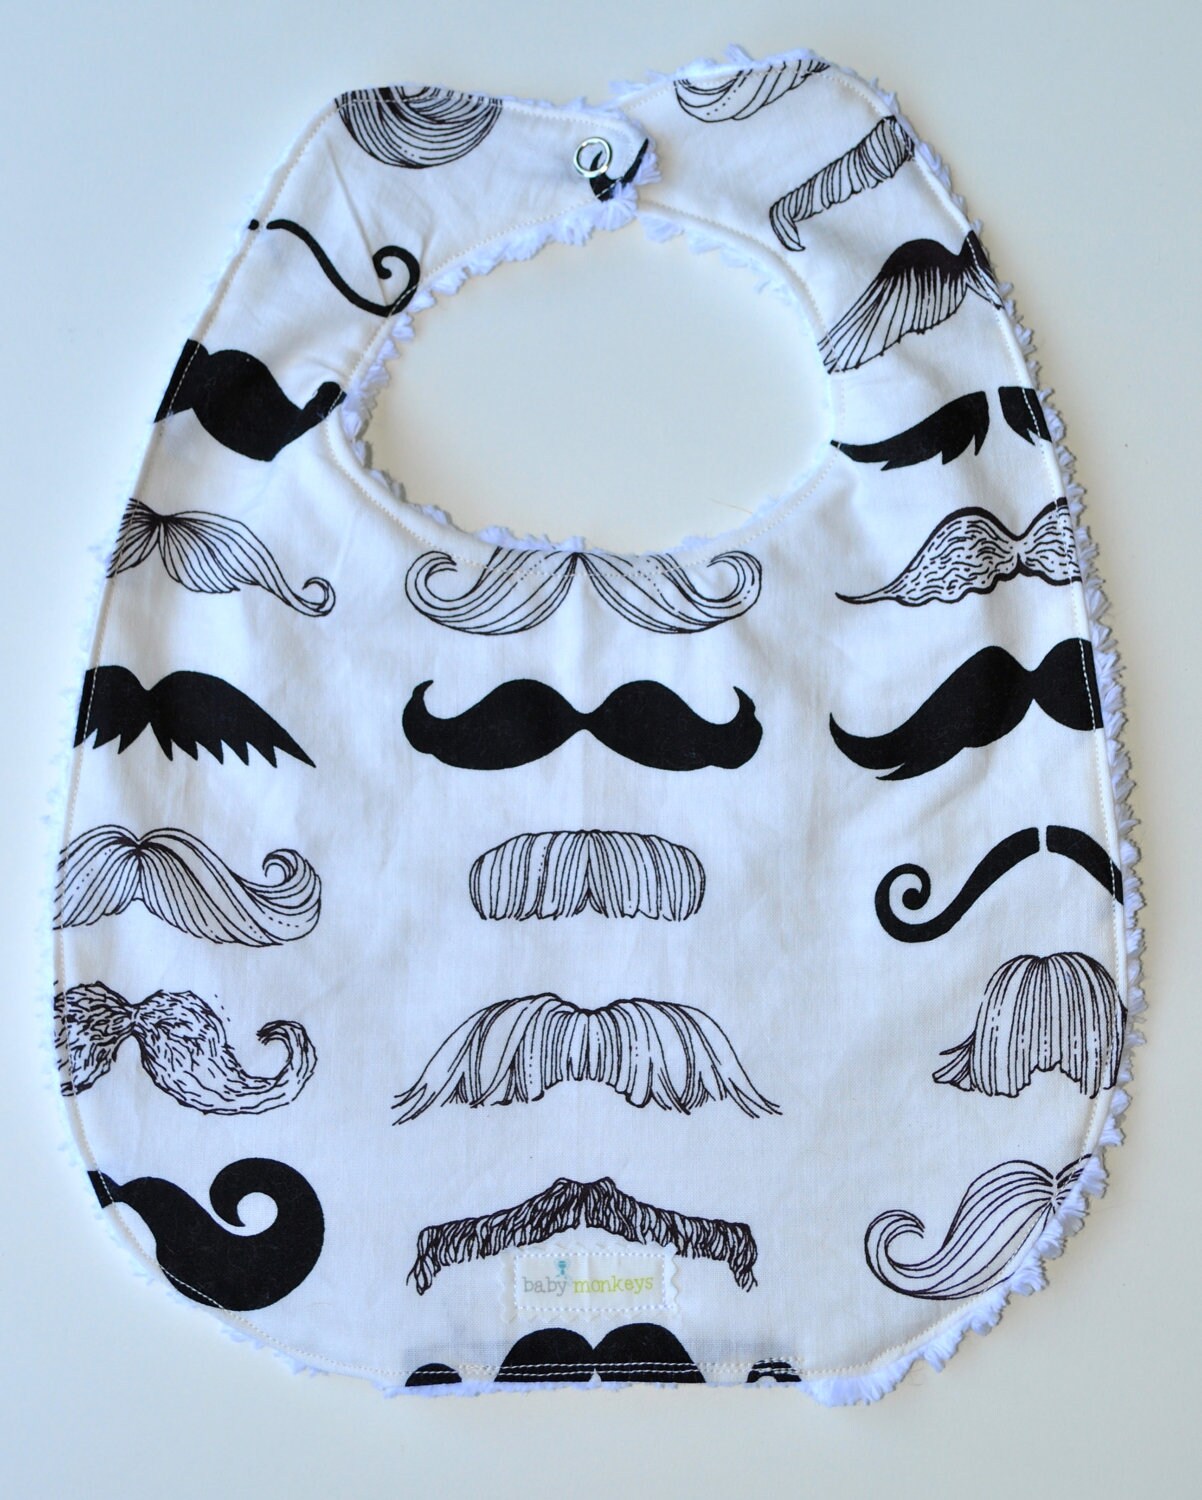
A couple of small bibs 


Matching place mat and napkin set
Christmas Pudding Ornament


Still working on getting the Etsy shop up and running!  It's taking WAY longer than I thought!!
LIFE IS SOOOOOOO BUSY!

Happy Friday to you all.....have a great weekend....I'll be decorating for Christmas on Sunday....
....it never stops around here!

Thursday, November 29, 2012

Let it snow, let it snow, let it snow!

We had our 2nd major snow fall of the season on Tuesday.....a perfect opportunity to get out and have some fun. 

I love snow, it looks beautiful and makes everywhere look magical.  And even though staying warm inside might seem like a preferable thing to do, once you get out there and start acting like a kid you have so much fun.  I wasn't particularly in the mood on Tuesday to participate in snow activities but had a great time once I was out there.

Here are some scenes from Tuesday.

Scenes from the garden


I think we got about 3" of snow


Perfect snow to build a snowman.  Not to fluffy not too wet!


We used clementines for the eyes, an end of a cucumber for his nose and almonds for his mouth


Snow angels next or should I say Rabbit Snow Angels!


And we finished with a snowball fight.....which of course was impossible to take pictures of as I was trying to defend myself.

If you are in an area that is lucky enough to have snow.....get yourself out there with your children, you'll be surprised how much fun you actually have!

Stay warm.


Sunday, November 25, 2012

Easy to sew Christmas gift: tissue holder


Anyone want to get busy with Christmas gift making???

This is another easy project for a beginner sewer or a child (with a bit of help from an adult) and uses up your old scraps of fabric.

A tissue holder.....just the thing for those seasonal sniffles.


This was one of the first things I sewed for Christmas gifts when I was a teenager.....its so easy!


What you will need

A scrap of fabric measuring 8 1/2" x 5 3/4"
pins
thread
sewing machine
iron...you know, the usual stuff

Please excuse the difference in colours of the photo's I was still mastering my shot taking at night (still am).

First iron your fabric flat then on the short sides iron up almost 1/2" and fold over and iron another 1/2" on top of that


This pic should make it easier to understand


Do the same at the other end so it looks like this


Flip it over and top stitch a straight line at both ends, securing the hem underneath


It should look like this


Fold in the two ends to meet each other, make sure they touch (or overlap slightly if you want a tighter opening)


Secure with pins to hold in place


Stitch a running stitch along the sides.  I back stitch always at start and finish and where the two sides meet


Trim with pinking shears or run a zig zag stitch to prevent fraying


Gently push the corners out.  I use a knitting needle


The finished product


I didn't like how the corners were baggy when I put the tissues in so I squared them off.  Here's how to do that.  Pinch the corner together so the stitching is in the middle


I marked a line from side to side that measured 3/4" at each corner.  I then sewed on the line and snipped to corner off to prevent bulk.


It gives it a bit more of a boxed, polished finish


TA DA the finished product!


Thursday, November 22, 2012

Quick and easy Thanksgiving decoration

My little girl loved doing the Thanksgiving place cards so much last week that she was begging me for another Thanksgiving craft.  Short on time I handed her some wooden turkey cut outs I had found at Michaels a while ago and some markers and asked her to colour them however she liked and we would use them to decorate the Thanksgiving table!

So we went from this.....


To this.......

To this........


I love how bright and cheery they are, I think they add a pop of whimsical to Thanksgiving.  Hang them from a chandelier, a drawer pull, door knob anywhere you can think of.
If you don't have the wooden cut outs you can always draw your turkey free hand or from a template and cut it out of card stock.....you could even write names on them and turn them into place cards.....or glue them on a card and send them to friends and family as a 'Happy Thanksgiving' card.

HAPPY THANKSGIVING EVERYONE!

Monday, November 19, 2012

Movember


Have you heard of Movember?

Apparently November has been made prostate and testicular cancer awareness month!  In order to create awareness men start November clean shaven and throughout the month grow a moustache.  They raise funds by seeking out sponsorship for their growing and grooming. 

If you want to find out more you can check out the website http://us.movember.com/

Throughout my searches on the internet I have come across various moustaches that have made me smile.  Here are just a few for the little ones in honor of Movember!


Mustachifier Baby Pacifier
My favourite pacifier by Fred


Moustache bib by babymonkeys@etsy.com


Moustache Mustache Infant Onezie Bodysuit Cute Funny Baby Boy Shower Gift - Heather Gray and Black
Baby onsie by meandmy3boys@etsy.com


Mini Moustache Stackable Glasses - Variety of Colors and Styles (set of 6)
And just to make snack time even more fun modernmadness@etsy.com have these great glasses


Happy Movember (even if we are more than half way through....I'll be on the ball next year)!

Friday, November 16, 2012

An easy Thanskgiving craft for children

Thanksgiving Place Cards

O.K. so thanks to Sandy I wasn't able to publish any Halloween crafts....sorry about that!

But I am able to give you a couple of Thanksgiving crafts that should keep the little ones out of your hair long enough for you to mash those potatoes and have a glass of wine!

Yesterday my 6 year old charge and I decided to make
Thanksgiving place cards for her family's
Thanksgiving dinner.....all 15 of them with a couple
of extras 'just in case'.

It's very easy....here's how we did it!


You will need:

White card stock
Paper cutter or scissors
A Thanksgiving stamp
Ink
Coloured pencils
Lead pencil or pen 


First I cut the card stock into 4 pieces measuring 4.25" x 5.5"

We then folded each piece in half....we did it long ways so that we had room to stamp and write the name.

This is the stamp we chose!


I love our turkey stamp.  I think I picked him up at Michaels a few years ago.


We were going to print in gold but it didn't show up enough so we chose bronze.


First she stamped the image on all cards and allowed to dry.


"I'm not fat I'm fluffy".  Might use that line myself! 


Then she wrote all the names of the guests.


And we coloured them in together.

Very simple! Very cute!


Child or Kid???

When I was in college under no circumstances were we ever
Image Ref: 01-10-2 - Goat, Viewed 18380 timesallowed to call children 'kids'.

"Kids are baby goats....we do not take care of baby goats"
our vice principal announced on arrival!
This was probably part of the same
"hair must be off the collar at all times" speech. 
Fun!  Not!

And to this day I find it very hard to write about 'kids'.  You probably haven't noticed.  And it's possible I may have slipped up on this blog and not written 'children' but every time I think about writing child/children I always wonder if I wrote kid/kids would I get more hits on my blog?

I know I'm in America and most people say kids.....so I'm wondering if not saying kids is hurting me!  But there's something in me that seems to stick with the word 'child'!

Any experienced bloggers got any thoughts on this?  I'm just curious.....not sure I could change anyway!!!


P.S.
I just googled 'child vs kid' and it's very interesting that point 1 on http://www.thefreedictionary.com is young goat! 
The definition of 'a young person' isn't until point 3!!!!!!

Monday, November 12, 2012

Easy sewing projects for children: a lavender sachet

There has to be many tutorials on the web for a lavender sachet so I am not claiming to be the first nor am I claiming to make it any other 'different' kind of way.  It's just one of those sewing projects that are quick and easy for children or the beginner sewer.

Last year I was lucky enough to go to the South of France for 10 days, the mecca of lavender fields.
I have been inspired to make lavender sachets since I bought my lavender at the market there. 

Abbaye Notre-Dame de Sénanque 1148, just north of Gordes, France

The market place at Gordes where I bought the lavender

Gorgeous Gordes.  If you ever have a chance to go there, GO!  This is one of the most beautiful towns I've been to


OK I digress.....back to reality........


How to sew a lavender bag


Items you will need are :

Scrap fabric, lavender, scissors, teaspoon and ribbon.  And of course a sewing machine.


Cut 2 rectangles of the fabric, mine measured 7" x 3.5"


Fold over 2" and press. This will give it a neat finish on the inside at the top.


Pin right sides together and stitch from top to bottom of long side, across the bottom and back up to the top, re-enforcing stitching at beginning and end by backwards stitching a few stitches


Snip loose threads and cut corners close to thread


Turn right side out, press with iron (if desired) and carefully spoon in your lavender


Tie tight with ribbon and there you have a beautiful lavender sachet

The easiest project ever.