So there are lots of different names for this item that I will make today....and I'm going to add a new name to the mix just because....introducing the Nuzzle Blankie.
Many babies and toddlers like to have something to hold on to. Babies first begin to explore with their eyes and hands being that they can't quite move around yet, this is why hand-eye coordination is a vital part of learning for the young. This tactile blanket is especially attractive to babies, they love the feel and colour of all the different ribbons and an eye catching print. The back of this blanket is a soft pink polka dot flannel, something nice and warm to snuggle up to.
This is a great gift for a new baby, no two need ever be the same!
How to make a Nuzzle Blankie
What you will need
2 pieces of fabric, 1 patterned, 1 soft
Ribbon cuts
Sewing machine
Scissors
Pins
Candle and something to light it with :o)
Tape
Cut out a template 10 3/4" x 10 3/4" Cut 2 squares of fabric slightly bigger than the template
Place template on top layer of fabric and mark around the edges on the WRONG SIDE of fabric
Cut lots of coordinating ribbon, make one side vertical the other a slight diagonal, not too sharp. This is so you can easily tell apart which side is sealed and goes on the outside of the blankie and which end goes inside.
Cut ribbon of various colours, patterns, widths etc. I cut mine approx 3" to 4" long
And I cut a lot ahead of time and colour sorted them, makes it easier when you are making a few at a time.
To seal the ends of the ribbon so they don't fray put the diagonal end
of the ribbon close to the flame of a candle, watch carefully and in a
split second the end of the ribbon will melt ever so slightly.....that's
all you need to seal it. If you run your fingers over the end of the
ribbon a few seconds after you will feel that it is a little hardened.
Please take great care not to set the ribbon on fire, it doesn't need to
go in the flame just close. If you have a ribbon sealer you can also
use that. I would not recommend a child using this technique.
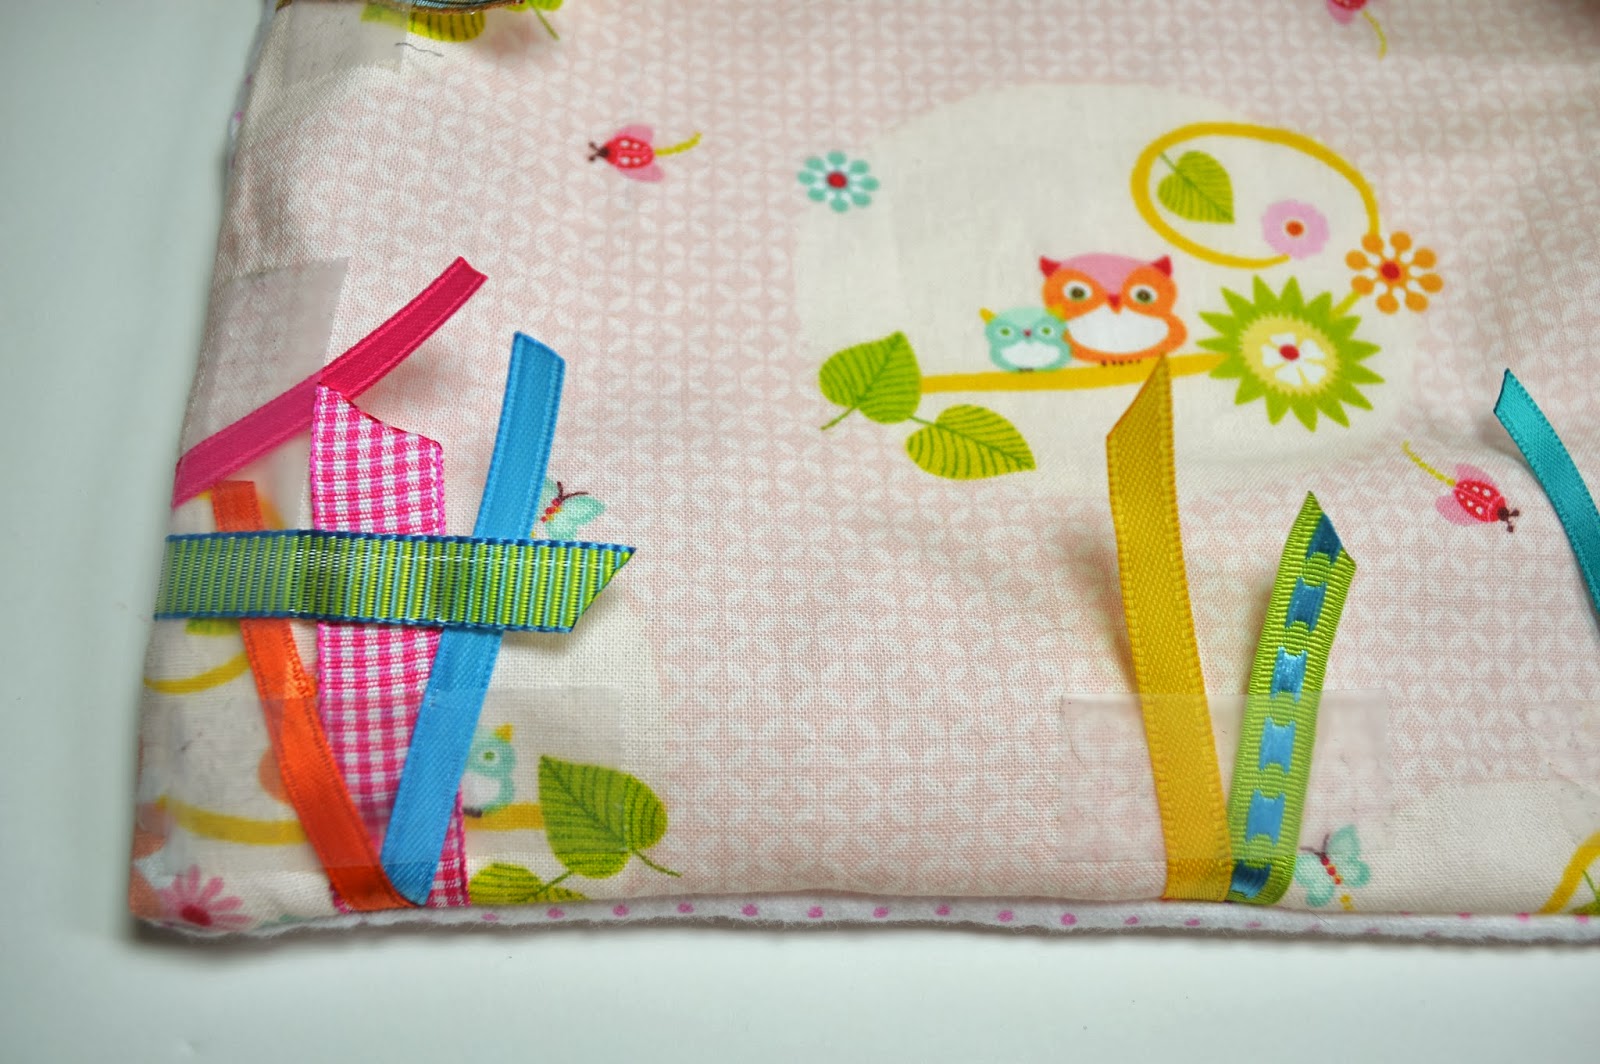
Make sure you have the patterned fabric right side up and lay the ribbons around the edge with the diagonal sealed end of the ribbon going towards the centre of the square and the vertical cut just crossing over the marking that you made earlier. Make sure that any print on the ribbon is facing down like the green ribbon above.
Find a wide piece of ribbon, slightly longer than the others and fold it in half then lay it down and pin it 1/2" back from the drawn line. This will be the tag that you can attach a link through. Only make the loop as long as you need it. Folded loops can be hazardous to babies if they put their finger through it and twist it round and round, it can cut off circulation and leave the baby in tremendous pain and very scared. For this reason I cut all the ribbons not loop them.
I like to tape the rest of the ribbon in place instead of pinning it makes it easier when turning right side out and cuts down on tacking the ribbon in place. Make sure tape is set back far enough that you don't sew it into the seam...an inch back from line should work fine.
It should look like this when they are all in place....make sure you are happy with placement and all ribbons have the sealed side facing in not out! You can see that I have not attached ribbons on the lower right side, this is where I plan to leave the blankie open so I can turn it right side out after stitching. I will add a couple of ribbons later when stitching opening closed.
Place other fabric right side down on top of ribbon clad fabric. Make sure that the fabric extends beyond the marked line on all 4 sides.
Flip the fabrics over so that you can see your markings and pin the edges to hold in place when you sew.
Stitch around the inside of the line. I used the edge of my sewing foot for guidance. To secure the ribbons as effectively as possible I stitched, then back stitched then stitched again where all ribbons were. This means they were stitched 3 times in the sealing of the 2 fabrics. Don't forget to leave an opening to turn the whole thing right side out!
Trim edges, I used pinking shears to prevent fraying. Cut close to the stitches, but when approaching the opening cut wider as you need to be able to press edges in when stitching the gap closed.
Turn right side out and remove pin from ribbon loop. Remove tape from ribbon, if you plan to make more blankies you can use it again.
Insert knitting needle or chopstick and gently urge the corners out.
Gently pull on ribbons to make sure they are attached and to ease the seam out.
Place a light piece of fabric over the blankie and iron it flat make sure seams are even. The fabric will protect the ribbons from the iron. NEVER iron the ribbons directly they could melt.
Be careful in pressing a seam in on both fabrics where the opening is.
Place any other ribbon or tag inside the seam when top stitching and sewing the blanket closed. I top stitched all the way around the edge of the blanket which adds a fourth level of stitching on each ribbon making it very secure. Trim threads when complete.
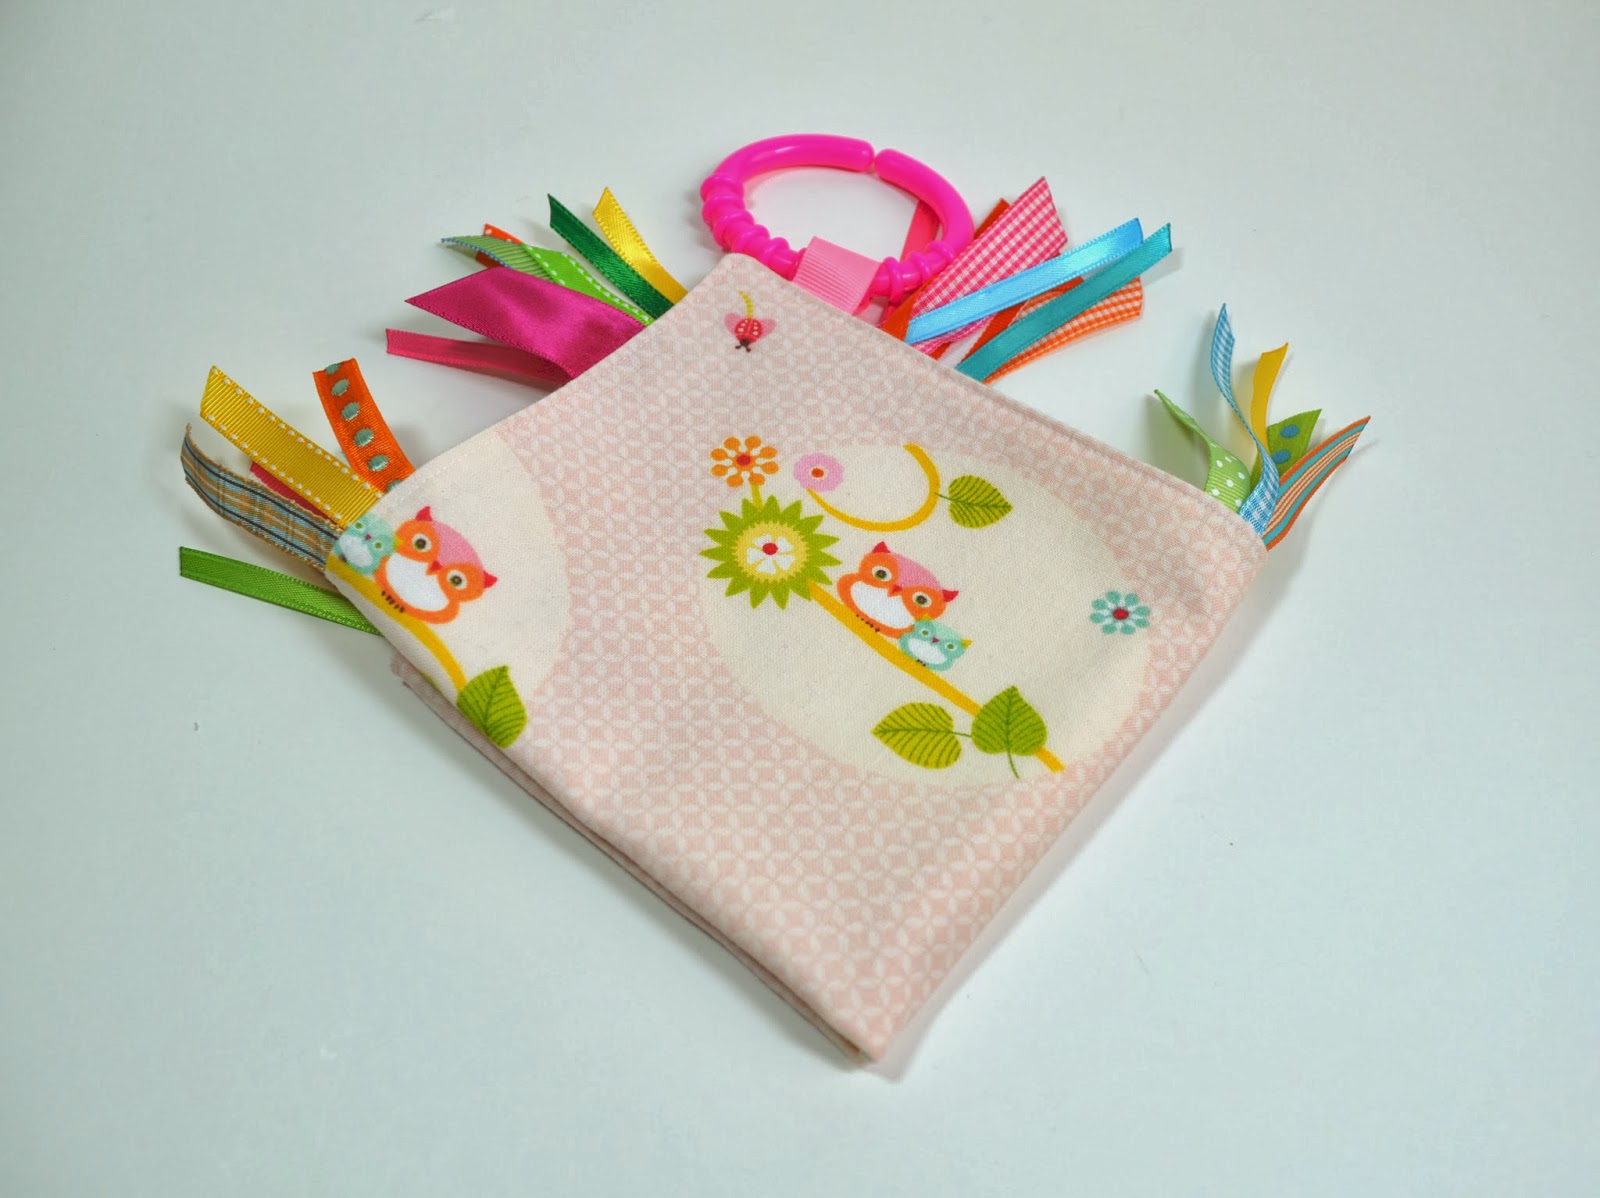
Add a link into the looped ribbon and you are ready to give or use your blankie!
A perfect gift for any new baby!!! Of course if you want to just buy one you can stop in at Textile Trolley on Etsy
https://www.etsy.com/shop/TextileTrolley
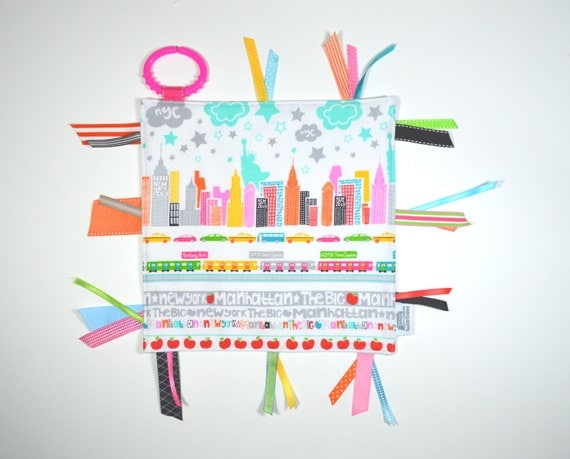
Here are some others I made. I especially love the patchwork ones....for these I cut 2 1/2" squares from scrap fabric and assembled the patchwork first, then made the blankie in the same way as above!!!
HAPPY SEWING!

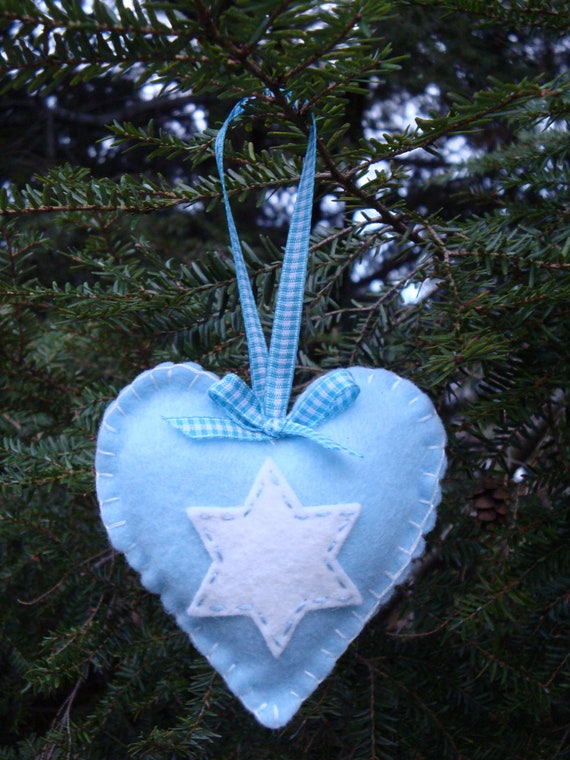 A little blue handmade felt heart for Hanukkah.....I think in recognition of my first sale I should always have that item for sale...what do you think? It was made in Super Storm Sandy when we lost power for 3 weeks....2 weeks....I can't remember now!