Wednesday, January 8, 2014

Tutorial: How to make a Tag Blanket / Lovie / Security Blanket

So there are lots of different names for this item that I will make today....and I'm going to add a new name to the mix just because....introducing the Nuzzle Blankie.


Many babies and toddlers like to have something to hold on to.  Babies first begin to explore with their eyes and hands being that they can't quite move around yet, this is why hand-eye coordination is a vital part of  learning for the young. This tactile blanket is especially attractive to babies, they love the feel and colour of all the different ribbons and an eye catching print.  The back of this blanket is a soft pink polka dot flannel, something nice and warm to snuggle up to.

This is a great gift for a new baby, no two need ever be the same!


How to make a Nuzzle Blankie

What you will need

2 pieces of fabric, 1 patterned, 1 soft
Ribbon cuts
Sewing machine
Scissors
Pins
Candle and something to light it with  :o)
Tape

Cut out a template 10 3/4" x 10 3/4"  Cut 2 squares of fabric slightly bigger than the template


 Place template on top layer of fabric and mark around the edges on the WRONG SIDE of fabric


 Cut lots of coordinating ribbon, make one side vertical the other a slight diagonal, not too sharp.  This is so you can easily tell apart which side is sealed and goes on the outside of the blankie and which end goes inside.


 Cut ribbon of various colours, patterns, widths etc.  I cut mine approx 3" to 4" long


 And I cut a lot ahead of time and colour sorted them, makes it easier when you are making a few at a time.


 To seal the ends of the ribbon so they don't fray put the diagonal end of the ribbon close to the flame of a candle, watch carefully and in a split second the end of the ribbon will melt ever so slightly.....that's all you need to seal it.  If you run your fingers over the end of the ribbon a few seconds after you will feel that it is a little hardened.  Please take great care not to set the ribbon on fire, it doesn't need to go in the flame just close.  If you have a ribbon sealer you can also use that.  I would not recommend a child using this technique.


Make sure you have the patterned fabric right side up and lay the ribbons around the edge with the diagonal sealed end of the ribbon going towards the centre of the square and the vertical cut just crossing over the marking that you made earlier.  Make sure that any print on the ribbon is facing down like the green ribbon above.


 Find a wide piece of ribbon, slightly longer than the others and fold it in half then lay it down and pin it 1/2" back from the drawn line.  This will be the tag that you can attach a link through.  Only make the loop as long as you need it.  Folded loops can be hazardous to babies if they put their finger through it and twist it round and round, it can cut off circulation and leave the baby in tremendous pain and very scared.  For this reason I cut all the ribbons not loop them.


 I like to tape the rest of the ribbon in place instead of pinning it makes it easier when turning right side out and cuts down on tacking the ribbon in place.  Make sure tape is set back far enough that you don't sew it into the seam...an inch back from line should work fine.


It should look like this when they are all in place....make sure you are happy with placement and all ribbons have the sealed side facing in not out!  You can see that I have not attached ribbons on the lower right side, this is where I plan to leave the blankie open so I can turn it right side out after stitching.  I will add a couple of ribbons later when stitching opening closed.


Place other fabric right side down on top of ribbon clad fabric.  Make sure that the fabric extends beyond the marked line on all 4 sides.


  Flip the fabrics over so that you can see your markings and pin the edges to hold in place when you sew.


Stitch around the inside of the line.  I used the edge of my sewing foot for guidance.  To secure the ribbons as effectively as possible I stitched, then back stitched then stitched again where all ribbons were.  This means they were stitched 3 times in the sealing of the 2 fabrics.  Don't forget to leave an opening to turn the whole thing right side out!


 Trim edges, I used pinking shears to prevent fraying.  Cut close to the stitches, but when approaching the opening cut wider as you need to be able to press edges in when stitching the gap closed.
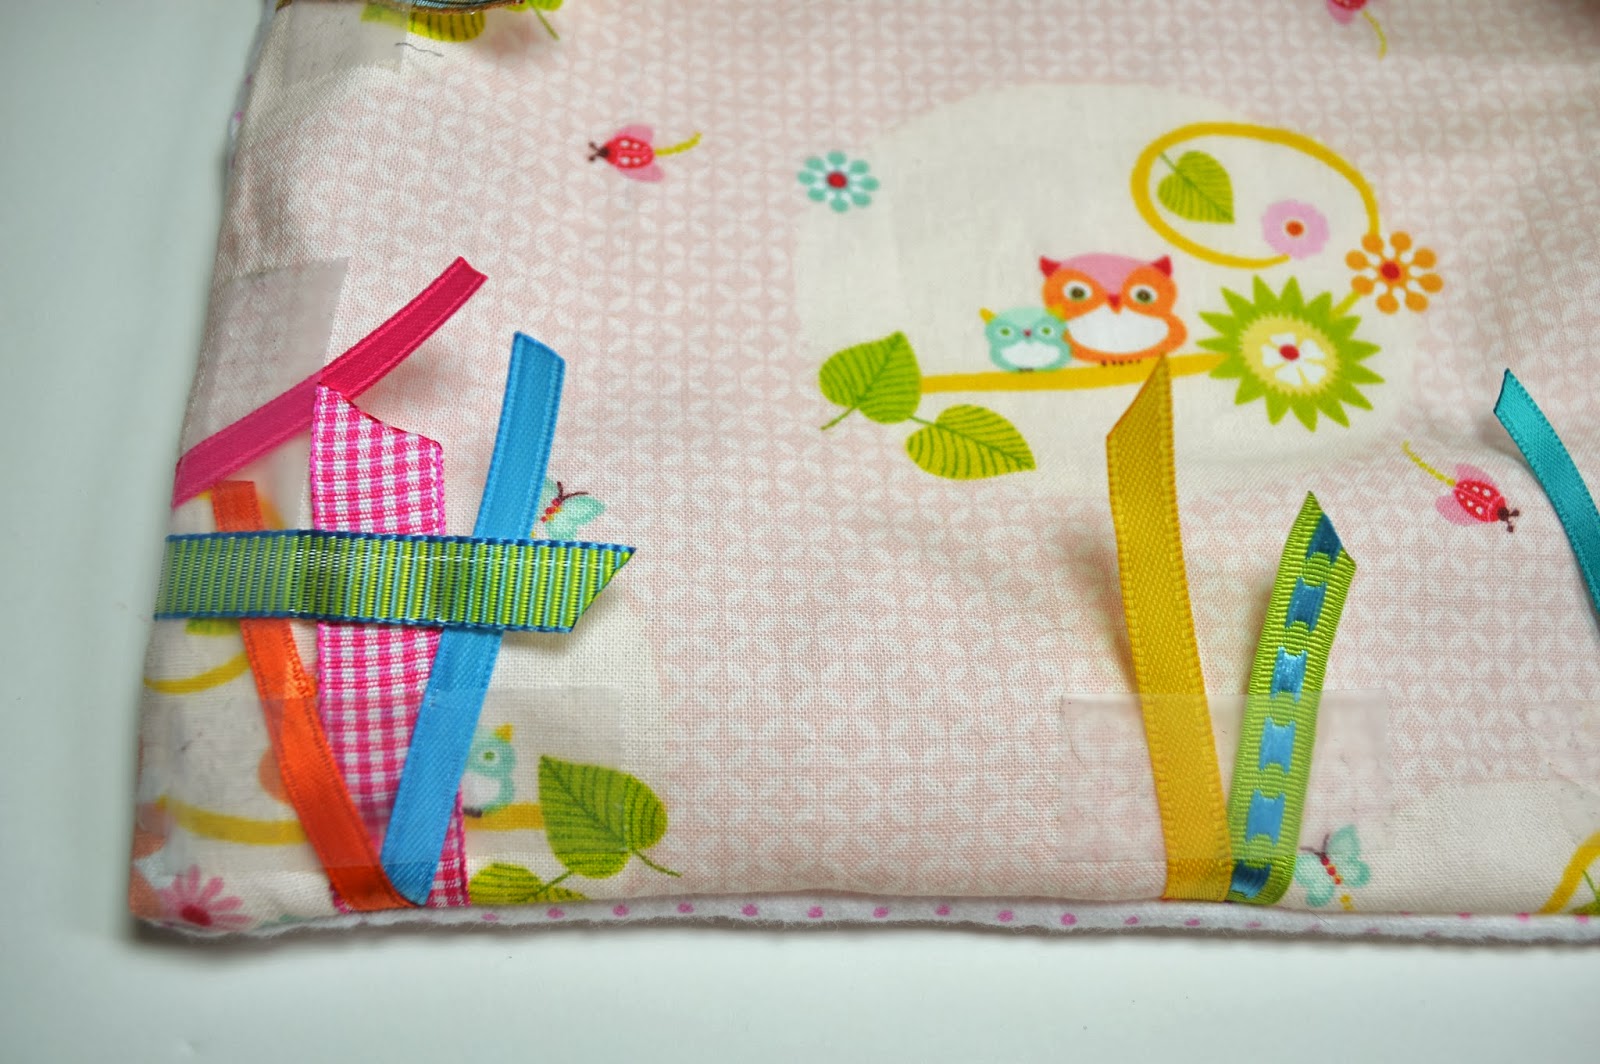


 Turn right side out and remove pin from ribbon loop.  Remove tape from ribbon, if you plan to make more blankies you can use it again.


Insert knitting needle or chopstick and gently urge the corners out.


Gently pull on ribbons to make sure they are attached and to ease the seam out.


 Place a light piece of fabric over the blankie and iron it flat make sure seams are even.  The fabric will protect the ribbons from the iron.  NEVER iron the ribbons directly they could melt.


 Be careful in pressing a seam in on both fabrics where the opening is.


 Place any other ribbon or tag inside the seam when top stitching and sewing the blanket closed.  I top stitched all the way around the edge of the blanket which adds a fourth level of stitching on each ribbon making it very secure.  Trim threads when complete.


Add a link into the looped ribbon and you are ready to give or use your blankie!
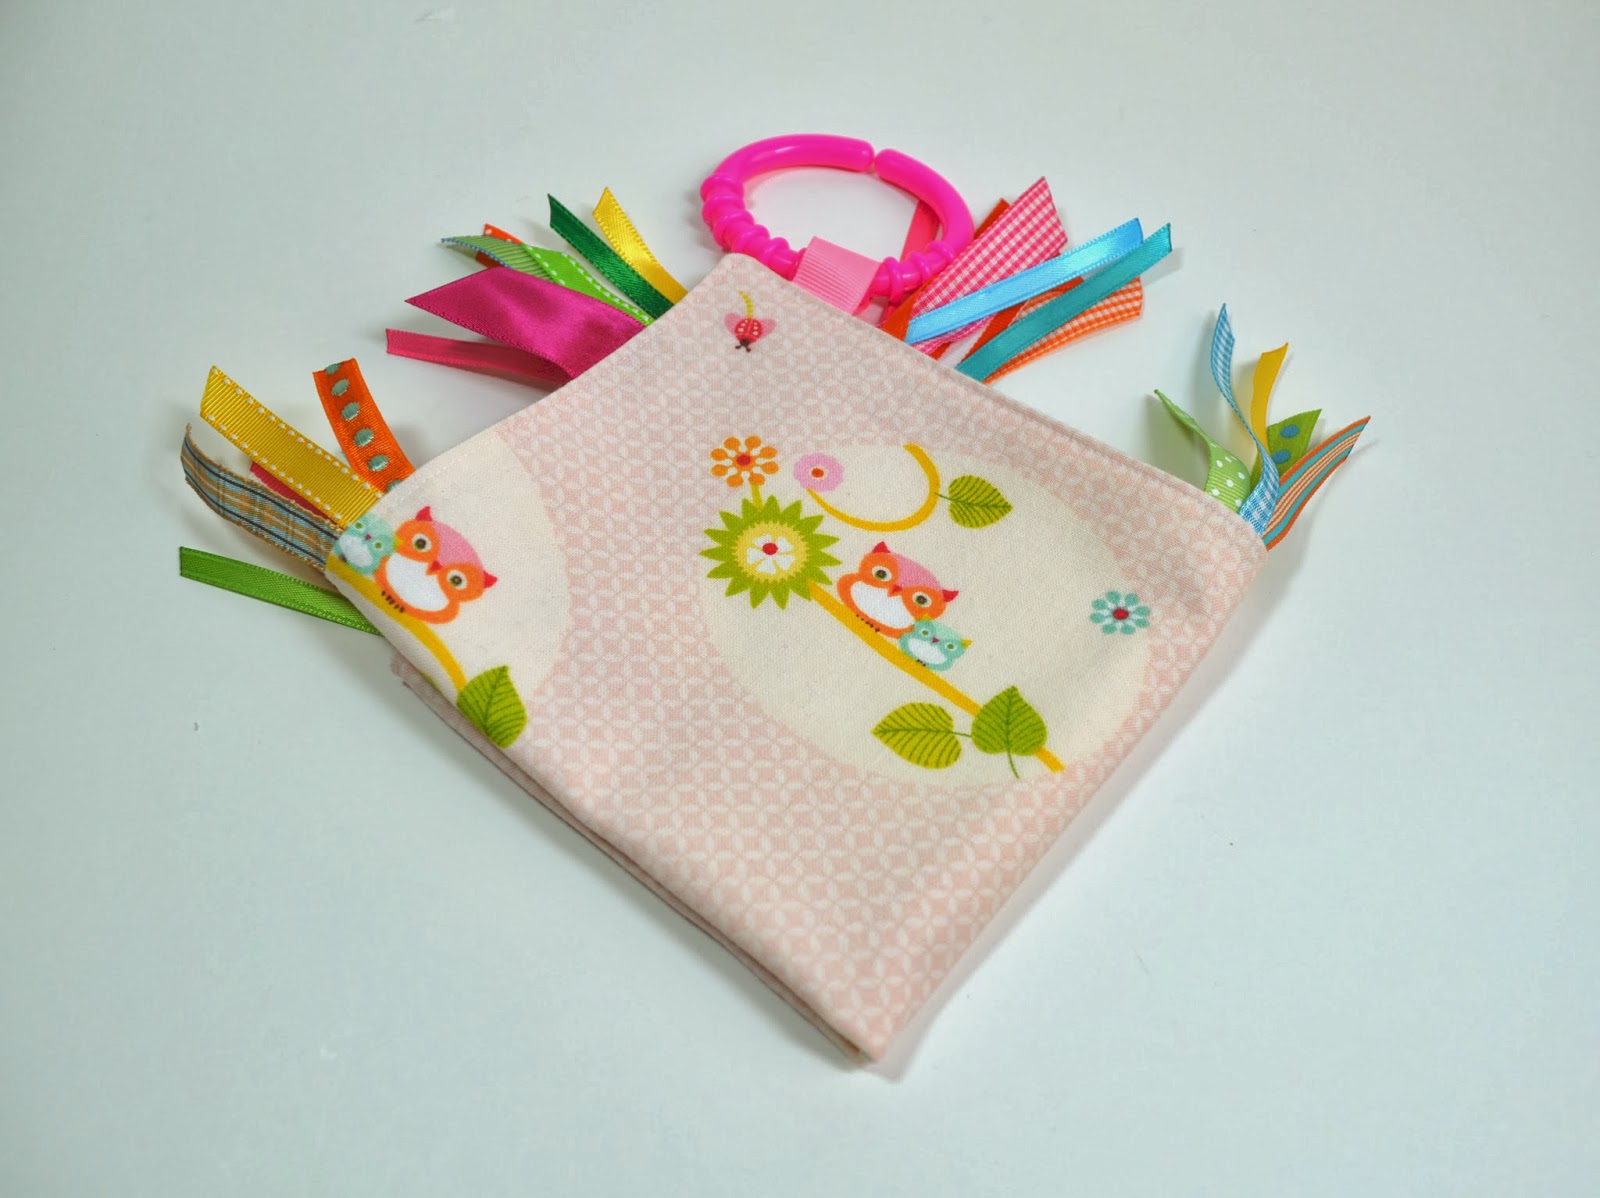


A perfect gift for any new baby!!!  Of course if you want to just buy one you can stop in at Textile Trolley on Etsy
https://www.etsy.com/shop/TextileTrolley


Here are some others I made.  I especially love the patchwork ones....for these I cut 2 1/2" squares from scrap fabric and assembled the patchwork first, then made the blankie in the same way as above!!!


Click here to see in the shop


Click here to see in the shop


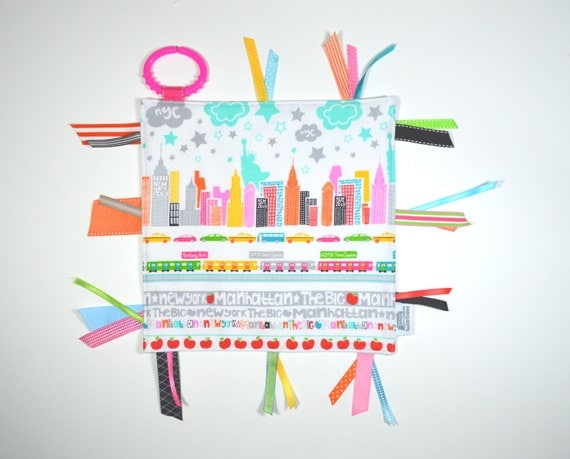
Tag Blanket /  Lovie Blanket /  Sensory Ribbon Blanket / NYC Baby Gift / Sensory Toy / Ribbon Tag Toy
Click here to see in the shop

 HAPPY SEWING!

Saturday, January 4, 2014

HAPPY NEW YEAR 2014

I trust everyone had a great holiday season and I trust everyone is more than ready to welcome the new year and get back to a normal schedule!

Everyone I talked to doesn't seem to know what day it is....we had a couple of whacky weeks here what with the holidays and the snow storms and I haven't worked a regular week for a while.....NO COMPLAINTS!!!!

It is nice to get back into the swing of things though (I feel that will come on Monday), to start a new, make resolutions etc.  I can't just leave it up to a new year to make resolutions I am constantly making (and breaking) them!  And so my decision this week is to be more organized in my studio/home, to put myself on more of a routine, to go back to the gym (I had taken a leave of absence due to injuries....for the past 3 years!!!!)...and I think that's enough for now!

OK off to organize!!!

HAPPY NEW YEAR
Louise

Tuesday, December 24, 2013

Merry Christmas 2013

Merry Christmas Everyone
 
From my tree to yours...
 
Merry Christmas from the frog fairy too.

Tuesday, December 17, 2013

Craft Show Display Improvements!

I did the last craft show of the year a couple of weeks ago and made some improvements to my display!  I decided NOT to take my camera to the show (these were taken with cell phones)...I know not why I made this stupid decision....it would have been so useful....I forget that when I apply to craft shows they require photo's of your display....a show that I am applying to next year want 10 PHOTOS!!!!!  I could have done with some more detailed pics of my display...oh well!

Anyhooo I painted the wine crates and I love them white!!!  
2 coats of primer did the job....I didn't even use paint ...ran out of time!

Trust me to miss the first 'T' in my shop banner!!! 


Thanks goodness my handy dandy helper captured it.


A close up of the right side of the booth....it was a U shape.  This had all the bibs, blankets and burp cloth sets.  Should have added a piece of white fabric or foam board behind the bibs hanging on the lines!  Next time!


Close up of the blankets....remember these pics are cell phone pics


Left side of the booth.  All the other stuff I had for sale. 


Close up of the Christmas items I had for sale


There are still areas I want to tweak but it was less cluttered than the previous craft show partly because I had a much bigger space!

I still need to add some more height....items at eye level are supposed to grab customers attention more!!!  And I'd like to insert some shelves within the wine crates too!
And maybe some more backdrop to detract from next door.

Bibs sold the best.....so I think I'm going to focus more on those and work on de-cluttering and not selling as much other little stuff.   I had a lot of stocking stuffer items which really didn't sell so well....not sure if it was the people and the location or what?

Anyway, you live and learn and see where there is room for improvement!!!

Wednesday, December 11, 2013

SNOW DAY!

I think I might still get as excited about a snow day as I did when I was a child!


I remember one year our bus driver ploughing into a massive snow drift on a narrow Yorkshire Dales road, you know the kind that is lined with drystone wall and if you meet another vehicle someone has to back up or squeeze up to the wall.  Well we were immediately stuck....I don't know what the bus driver was thinking!  We all had to walk back to the village and mum made homemade soup and we spent the day with snowball fights, building snowmen and jumping off drystone walls into 8 ft snow drifts!!!  Ah those were the days!!!!

Now I probably won't do any of the above today but it definitely looks like I won't be going to work if the snow keeps coming down at this rate (like the weather people say it's supposed to).  I have my coffee, the fire blazing and a whole stack of sewing, packaging and organizing to do!

I started writing this post yesterday.....then the snow stopped and I had to go to work....so much for a snow day  LOL  But it still looks beautiful outside!!!!  And best thing is I took all these pics by sticking my head out the front and the back door!    :o)


Wednesday, November 27, 2013

The latest Craft Show


So my last craft show was this past Saturday at Vorhee's High School, Glen Gardner, NJ.  I had heard great things about this show from various crafters and also a friend that had done quite well there last year....so I was excited to do such a reasonable show that pulled a large crowd.

It just goes to show you....every year is not the same!  There was a considerably smaller crowd there this year according to the crafters around me that had done the show before.  I have to say I was a little disappointed at the turn out and I'm not sure I will do this show again.  Thankfully it wasn't just me that had that opinion.....almost every crafter I talked to was of the same mind.

I did meet some lovely people, although not as many as I would have liked as I was alone most of the day so couldn't leave my table.  If you're looking for a modern handmade doll or super hero cape check out Made With Luck.

Anyway here are some pics of my table.  I didn't have time to paint the wine crates which I will be doing before my next show at Warren Tech. but besides that I feel my table is too crowded.  You have to really stop and look carefully at everything I have there and I think most people's eyes just glazed over and they walked by smiling  LOL  So I will be revisiting the table design AGAIN!  At least next time I will have a 10' x 10' space...this was an 8ft table


Tuesday, November 26, 2013

My Zulily.com Experience

It came to my attention that I never gave an update of my Zulily.com experience.

To recap....I made these 2 items for Zulily.com to sell in one of their flash sales...they are available in my Etsy shop now https://www.etsy.com/shop/TextileTrolley

Cotton Blanket 29" x 34"


Bib and Burp Cloth Set


I have to say my whole experience with Zulily.com from start to finish was very professional...these people are on top of things and know exactly what they are doing......WAY more so than Groopdealz.com (would never work with them again).

Everything was laid out very clearly for me....how they worked, who would be my contact, if I had any questions they were answered within 24 hours, I felt like my hand was held the whole way through.

I had to provide 2 different items with at least 10 of each item.  I chose to provide 14 blankets and 20 bib and burp cloth sets.  You are set up with a portal so that you can see how much you have sold and to which states....they told me that most items sell in the first few hours so I was glued to that computer screen most of the first morning.  The stats update every 15 mins so it was very exciting to watch!
I managed to sell almost all my blankets....12 out of 14 but the bib and burp cloth sets did not do that great...only 3 were sold out of 20  :o(

So I came away with a positive experience, I made money that I probably wouldn't have made in a weekend (even though I had to discount my prices) and reached new customers who will hopefully visit my Etsy Shop.
I took what didn't sell to the craft show I did this weekend (more about that later in the week) and I will post the other items in the shop.

The only downside I could find to Zulily.com is that there are SO MANY SALES all going on at the same time.....I counted over 100 on my day.  Within each sale is at least another 100 items for sale and a lot of the designer names are at the very top of the sales.

So I wonder is Zulily.com so big that small fry like Textile Trolley seem to get lost???  I don't know!  I would definitely consider doing it again if approached but for now I'll focus on my Etsy shop and the last craft show of the year Crafts in the Warren Tech