Wednesday, January 29, 2014
Patchwork Blanket from a Charm Pack
So what's a charm pack? Well basically it's a bunch of pre-cut patchwork squares so you don't have to cut them yourself!!!! You can buy just the one pack to make a blanket or a few and mix and match til you get the desired patchwork.
I have never done one of these until now!!! I bought my charm pack last year at the
Country Living Fair in Rhinebeck. It's been sitting around for a few months and one day I thought....why not put that thing together!
I do like patchwork blankets, and the one thing I love about them is the individuality, choosing the fabrics and putting them together but it is A LOT OF WORK! Coordinating fabrics, cutting them to the right size and then assembling them so that the same fabrics or colours aren't touching!!!!! It can be exhausting and I know myself...I'm definitely more or a quick project kinda gal! So this charm pack idea seemed like a good solution!
Wish I'd taken a before picture but here's a link to another charm pack at the
Fresh Modern Fabric shop on Etsy charm pack
The one thing I learned that you DO NOT DO with a charm pack is pre-wash it! So I obeyed directions, took an agonizing 30 mins on the kitchen table to lay it out the way I wanted it and then assembled it. If you want directions on how to put together a patchwork blanket check this post out http://textiletrolley.blogspot.com/2012/08/how-to-make-patchwork-blanket-no.html
And if you don't have the desire to make one yourself you can buy this at my Etsy shop.
Click here to buy this blanket
Friday, January 10, 2014
Do you use a mesh sponge to wash your children?
Use one of these to wash your children?
Do you know how often you should replace it?
When I was young we always used a facecloth/washcloth in the bath to wash ourselves! Nowadays I think most people and children I know use these mesh nylon sponges!
I know Ms. I. (the 7 year old I nanny for) has 2 in her shower and I was curious to see how often you should replace them as I think it's been a while since I bought her new ones!
After a good google search the general consensus is every 2 months! I was WAY overdue with my own so quickly bought new ones and will do so for Ms. I
I think it's a good idea to do it at the start of the year as it's easier to remember when you need to replace it.
Because these sponges are wet on (usually) a daily basis they harbor bacteria and mold! Imagine scrubbing that all over your children! In some cases it can lead to rashes and infections.
Some people claim they wash them in the washing machine with bleach to kill some of the bacteria, others say they pour peroxide on them after they wash, but shaking them vigorously and hanging them in a well ventilated place to dry after using them is usually enough until it's time to replace them.
I usually buy the smaller travel ones for children, it's easier for them to handle and they end up being cheaper too.
What are you waiting for? Isn't it time you went shopping? :o)
Do you know how often you should replace it?
When I was young we always used a facecloth/washcloth in the bath to wash ourselves! Nowadays I think most people and children I know use these mesh nylon sponges!
I know Ms. I. (the 7 year old I nanny for) has 2 in her shower and I was curious to see how often you should replace them as I think it's been a while since I bought her new ones!
After a good google search the general consensus is every 2 months! I was WAY overdue with my own so quickly bought new ones and will do so for Ms. I
I think it's a good idea to do it at the start of the year as it's easier to remember when you need to replace it.
Because these sponges are wet on (usually) a daily basis they harbor bacteria and mold! Imagine scrubbing that all over your children! In some cases it can lead to rashes and infections.
Some people claim they wash them in the washing machine with bleach to kill some of the bacteria, others say they pour peroxide on them after they wash, but shaking them vigorously and hanging them in a well ventilated place to dry after using them is usually enough until it's time to replace them.
I usually buy the smaller travel ones for children, it's easier for them to handle and they end up being cheaper too.
What are you waiting for? Isn't it time you went shopping? :o)
Wednesday, January 8, 2014
Tutorial: How to make a Tag Blanket / Lovie / Security Blanket
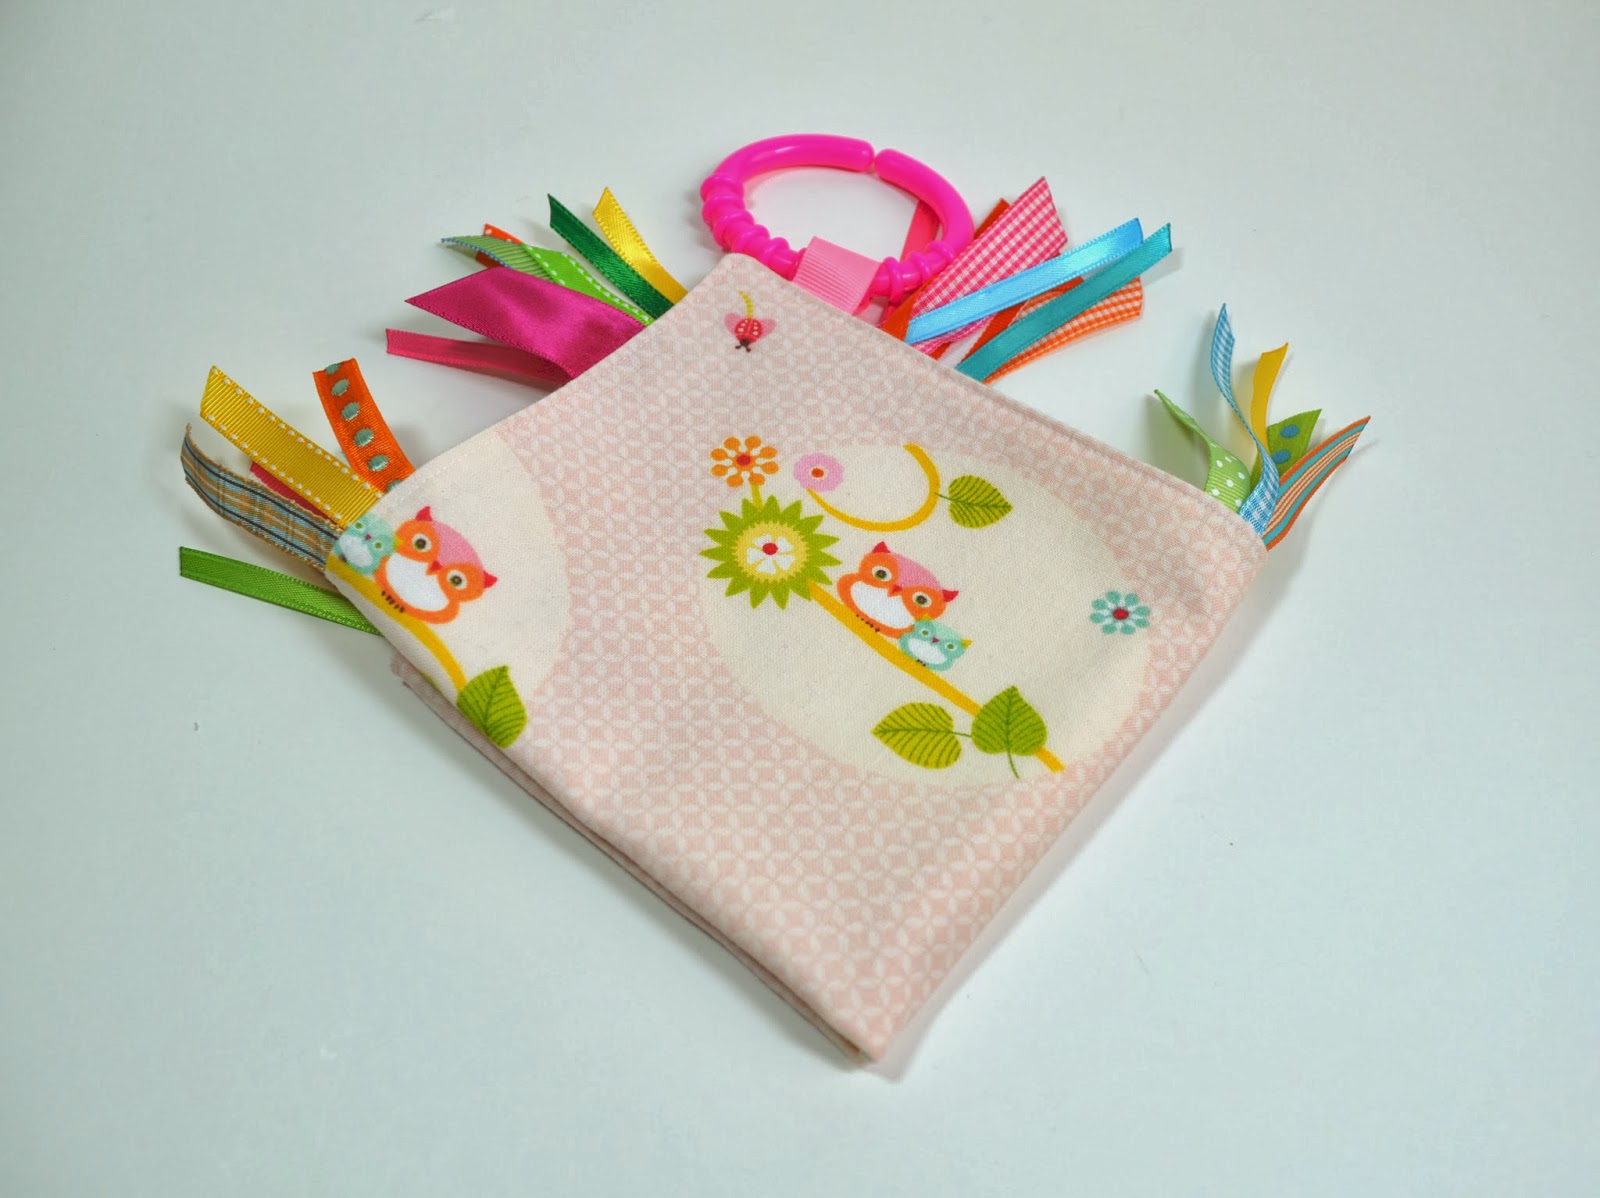
Many babies and toddlers like to have something to hold on to. Babies first begin to explore with their eyes and hands being that they can't quite move around yet, this is why hand-eye coordination is a vital part of learning for the young. This tactile blanket is especially attractive to babies, they love the feel and colour of all the different ribbons and an eye catching print. The back of this blanket is a soft pink polka dot flannel, something nice and warm to snuggle up to.
This is a great gift for a new baby, no two need ever be the same!
How to make a Nuzzle Blankie
What you will need
2 pieces of fabric, 1 patterned, 1 soft
Ribbon cuts
Sewing machine
Scissors
Pins
Candle and something to light it with :o)
Tape
And I cut a lot ahead of time and colour sorted them, makes it easier when you are making a few at a time.
Make sure you have the patterned fabric right side up and lay the ribbons around the edge with the diagonal sealed end of the ribbon going towards the centre of the square and the vertical cut just crossing over the marking that you made earlier. Make sure that any print on the ribbon is facing down like the green ribbon above.
Find a wide piece of ribbon, slightly longer than the others and fold it in half then lay it down and pin it 1/2" back from the drawn line. This will be the tag that you can attach a link through. Only make the loop as long as you need it. Folded loops can be hazardous to babies if they put their finger through it and twist it round and round, it can cut off circulation and leave the baby in tremendous pain and very scared. For this reason I cut all the ribbons not loop them.
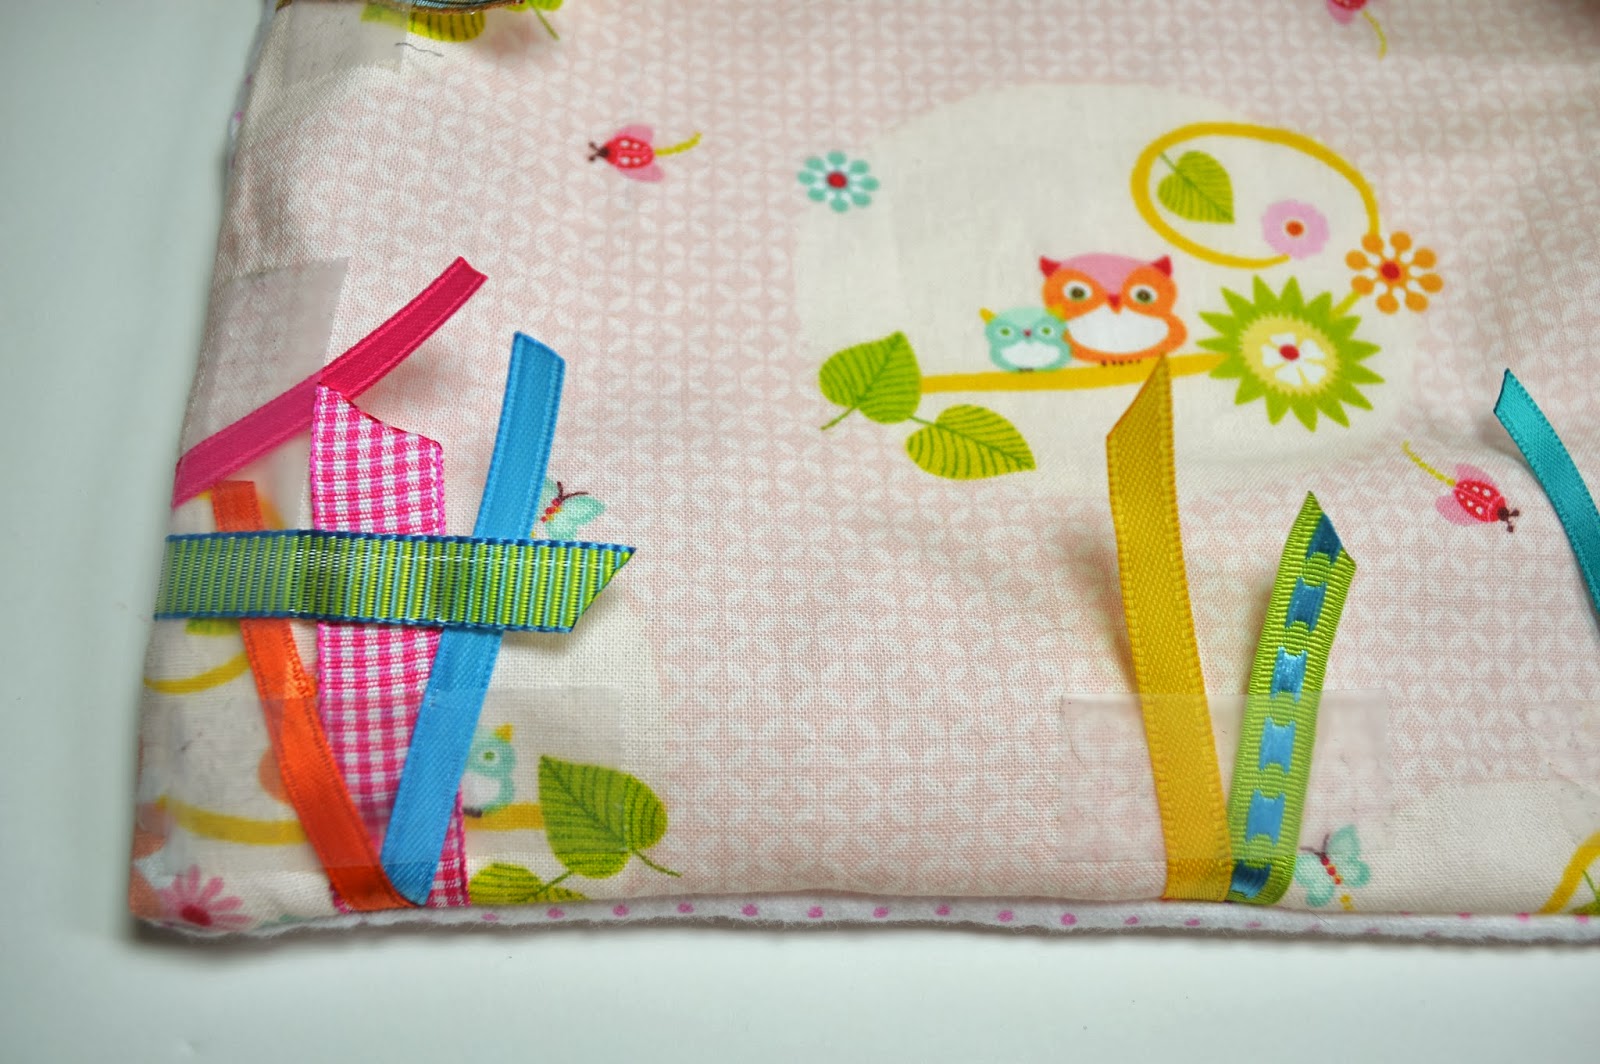
I like to tape the rest of the ribbon in place instead of pinning it makes it easier when turning right side out and cuts down on tacking the ribbon in place. Make sure tape is set back far enough that you don't sew it into the seam...an inch back from line should work fine.
It should look like this when they are all in place....make sure you are happy with placement and all ribbons have the sealed side facing in not out! You can see that I have not attached ribbons on the lower right side, this is where I plan to leave the blankie open so I can turn it right side out after stitching. I will add a couple of ribbons later when stitching opening closed.
Place other fabric right side down on top of ribbon clad fabric. Make sure that the fabric extends beyond the marked line on all 4 sides.
Flip the fabrics over so that you can see your markings and pin the edges to hold in place when you sew.
Stitch around the inside of the line. I used the edge of my sewing foot for guidance. To secure the ribbons as effectively as possible I stitched, then back stitched then stitched again where all ribbons were. This means they were stitched 3 times in the sealing of the 2 fabrics. Don't forget to leave an opening to turn the whole thing right side out!
Trim edges, I used pinking shears to prevent fraying. Cut close to the stitches, but when approaching the opening cut wider as you need to be able to press edges in when stitching the gap closed.
Turn right side out and remove pin from ribbon loop. Remove tape from ribbon, if you plan to make more blankies you can use it again.
Insert knitting needle or chopstick and gently urge the corners out.
Gently pull on ribbons to make sure they are attached and to ease the seam out.
Be careful in pressing a seam in on both fabrics where the opening is.
Place any other ribbon or tag inside the seam when top stitching and sewing the blanket closed. I top stitched all the way around the edge of the blanket which adds a fourth level of stitching on each ribbon making it very secure. Trim threads when complete.
Add a link into the looped ribbon and you are ready to give or use your blankie!
A perfect gift for any new baby!!! Of course if you want to just buy one you can stop in at Textile Trolley on Etsy
https://www.etsy.com/shop/TextileTrolley
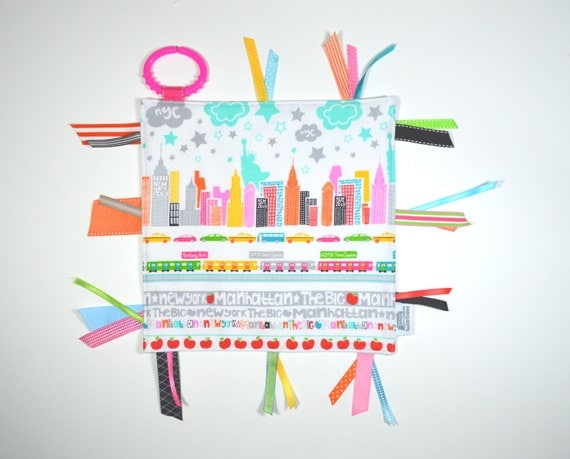
Here are some others I made. I especially love the patchwork ones....for these I cut 2 1/2" squares from scrap fabric and assembled the patchwork first, then made the blankie in the same way as above!!!
| Click here to see in the shop |
| Click here to see in the shop |
![]() |
| Click here to see in the shop |
Saturday, January 4, 2014
HAPPY NEW YEAR 2014
I trust everyone had a great holiday season and I trust everyone is more than ready to welcome the new year and get back to a normal schedule!
Everyone I talked to doesn't seem to know what day it is....we had a couple of whacky weeks here what with the holidays and the snow storms and I haven't worked a regular week for a while.....NO COMPLAINTS!!!!
It is nice to get back into the swing of things though (I feel that will come on Monday), to start a new, make resolutions etc. I can't just leave it up to a new year to make resolutions I am constantly making (and breaking) them! And so my decision this week is to be more organized in my studio/home, to put myself on more of a routine, to go back to the gym (I had taken a leave of absence due to injuries....for the past 3 years!!!!)...and I think that's enough for now!
OK off to organize!!!
HAPPY NEW YEAR
Louise
Everyone I talked to doesn't seem to know what day it is....we had a couple of whacky weeks here what with the holidays and the snow storms and I haven't worked a regular week for a while.....NO COMPLAINTS!!!!
It is nice to get back into the swing of things though (I feel that will come on Monday), to start a new, make resolutions etc. I can't just leave it up to a new year to make resolutions I am constantly making (and breaking) them! And so my decision this week is to be more organized in my studio/home, to put myself on more of a routine, to go back to the gym (I had taken a leave of absence due to injuries....for the past 3 years!!!!)...and I think that's enough for now!
OK off to organize!!!
HAPPY NEW YEAR
Louise
Tuesday, December 24, 2013
Tuesday, December 17, 2013
Craft Show Display Improvements!
I did the last craft show of the year a couple of weeks ago and made some improvements to my display! I decided NOT to take my camera to the show (these were taken with cell phones)...I know not why I made this stupid decision....it would have been so useful....I forget that when I apply to craft shows they require photo's of your display....a show that I am applying to next year want 10 PHOTOS!!!!! I could have done with some more detailed pics of my display...oh well!
Anyhooo I painted the wine crates and I love them white!!!
Compare them here http://textiletrolley.blogspot.com/2013/11/the-latest-craft-show.html
2 coats of primer did the job....I didn't even use paint ...ran out of time!
![]() |
| Trust me to miss the first 'T' in my shop banner!!! |
![]() |
| Thanks goodness my handy dandy helper captured it. |
![]() |
| Close up of the blankets....remember these pics are cell phone pics |
![]() |
| Left side of the booth. All the other stuff I had for sale. |
![]() |
| Close up of the Christmas items I had for sale |
There are still areas I want to tweak but it was less cluttered than the previous craft show partly because I had a much bigger space!
I still need to add some more height....items at eye level are supposed to grab customers attention more!!! And I'd like to insert some shelves within the wine crates too!
And maybe some more backdrop to detract from next door.
Bibs sold the best.....so I think I'm going to focus more on those and work on de-cluttering and not selling as much other little stuff. I had a lot of stocking stuffer items which really didn't sell so well....not sure if it was the people and the location or what?
Anyway, you live and learn and see where there is room for improvement!!!
Wednesday, December 11, 2013
SNOW DAY!
I think I might still get as excited about a snow day as I did when I was a child!
I remember one year our bus driver ploughing into a massive snow drift on a narrow Yorkshire Dales road, you know the kind that is lined with drystone wall and if you meet another vehicle someone has to back up or squeeze up to the wall. Well we were immediately stuck....I don't know what the bus driver was thinking! We all had to walk back to the village and mum made homemade soup and we spent the day with snowball fights, building snowmen and jumping off drystone walls into 8 ft snow drifts!!! Ah those were the days!!!!
Now I probably won't do any of the above today but it definitely looks like I won't be going to work if the snow keeps coming down at this rate (like the weather people say it's supposed to). I have my coffee, the fire blazing and a whole stack of sewing, packaging and organizing to do!
I started writing this post yesterday.....then the snow stopped and I had to go to work....so much for a snow day LOL But it still looks beautiful outside!!!! And best thing is I took all these pics by sticking my head out the front and the back door! :o)
I remember one year our bus driver ploughing into a massive snow drift on a narrow Yorkshire Dales road, you know the kind that is lined with drystone wall and if you meet another vehicle someone has to back up or squeeze up to the wall. Well we were immediately stuck....I don't know what the bus driver was thinking! We all had to walk back to the village and mum made homemade soup and we spent the day with snowball fights, building snowmen and jumping off drystone walls into 8 ft snow drifts!!! Ah those were the days!!!!
Now I probably won't do any of the above today but it definitely looks like I won't be going to work if the snow keeps coming down at this rate (like the weather people say it's supposed to). I have my coffee, the fire blazing and a whole stack of sewing, packaging and organizing to do!
I started writing this post yesterday.....then the snow stopped and I had to go to work....so much for a snow day LOL But it still looks beautiful outside!!!! And best thing is I took all these pics by sticking my head out the front and the back door! :o)
Subscribe to:
Posts (Atom)